ESN List Management
Article
ESN List Overview
The ESN Lists feature allows managers to create and manage collections of Engine Serial Numbers (ESNs). A list is first created, and ESNs are added to it afterward.
One of the main use cases for this feature is to represent "light" campaigns.
This functionality helps managers group multiple ESNs under a specific topic, streamlining organization and improving efficiency.
To access this feature, users should click on the “ESN Lists” tab located in the header of the screen.
ESN List Creation and Structure
Creating an ESN List begins by clicking the “Create ESN List” button located in the top right corner of the screen. This action opens a form that the user needs to complete in order to set up the new list.
After clicking the button, the following form appears. To create an ESN List, the user must complete all required fields.
Name
The name should be clear, concise, and meaningful, as it will serve as the identifier for the ESN List. This name will appear in the main ESN List view, accessible by clicking the ESN Lists tab on the main screen.
Internal description
This field allows you to provide a description, offering additional context or details for the ESN List being created.
Technician instructions
This is the message displayed to the technician when the ESN List matches the relevant context.
Use Case
Assigned use case for the ESN List.
Adding ESNs to ESN List
After the ESN List is created, the application automatically redirects you to it and allows you to assign ESNs to the list. Refer to the image below:
On this screen you can do multiple actions:
- You can modify the previously entered information, such as updating the Name or Internal Description if needed.
- Add Engine Serial Numbers (ESNs)After clicking the button, you can either manually enter ESNs that are eight digits long or copy and paste them from other documents.Below is just an example:After clicking “Add”, you will receive a success message and the step is completed.
To save your changes, make sure to click the “Save” button located in the top corner. - Remove Engine Serial Numbers (ESNs)You can select ESNs by clicking the empty checkbox next to each one.Once selected, click the red trash bin icon in the top right corner to delete the ESNs—confirmation will be required.
- Edit or correct the Engine Serial Number (ESN)
If you mistyped an ESN in the previous step, simply double-click the assigned ESN to edit and correct it.Once again, remember to click Save in the top right corner to apply the changes.
Once you’ve completed all the actions, you can return to the full list of ESN Lists by clicking the “ESN Lists” tab in the header.
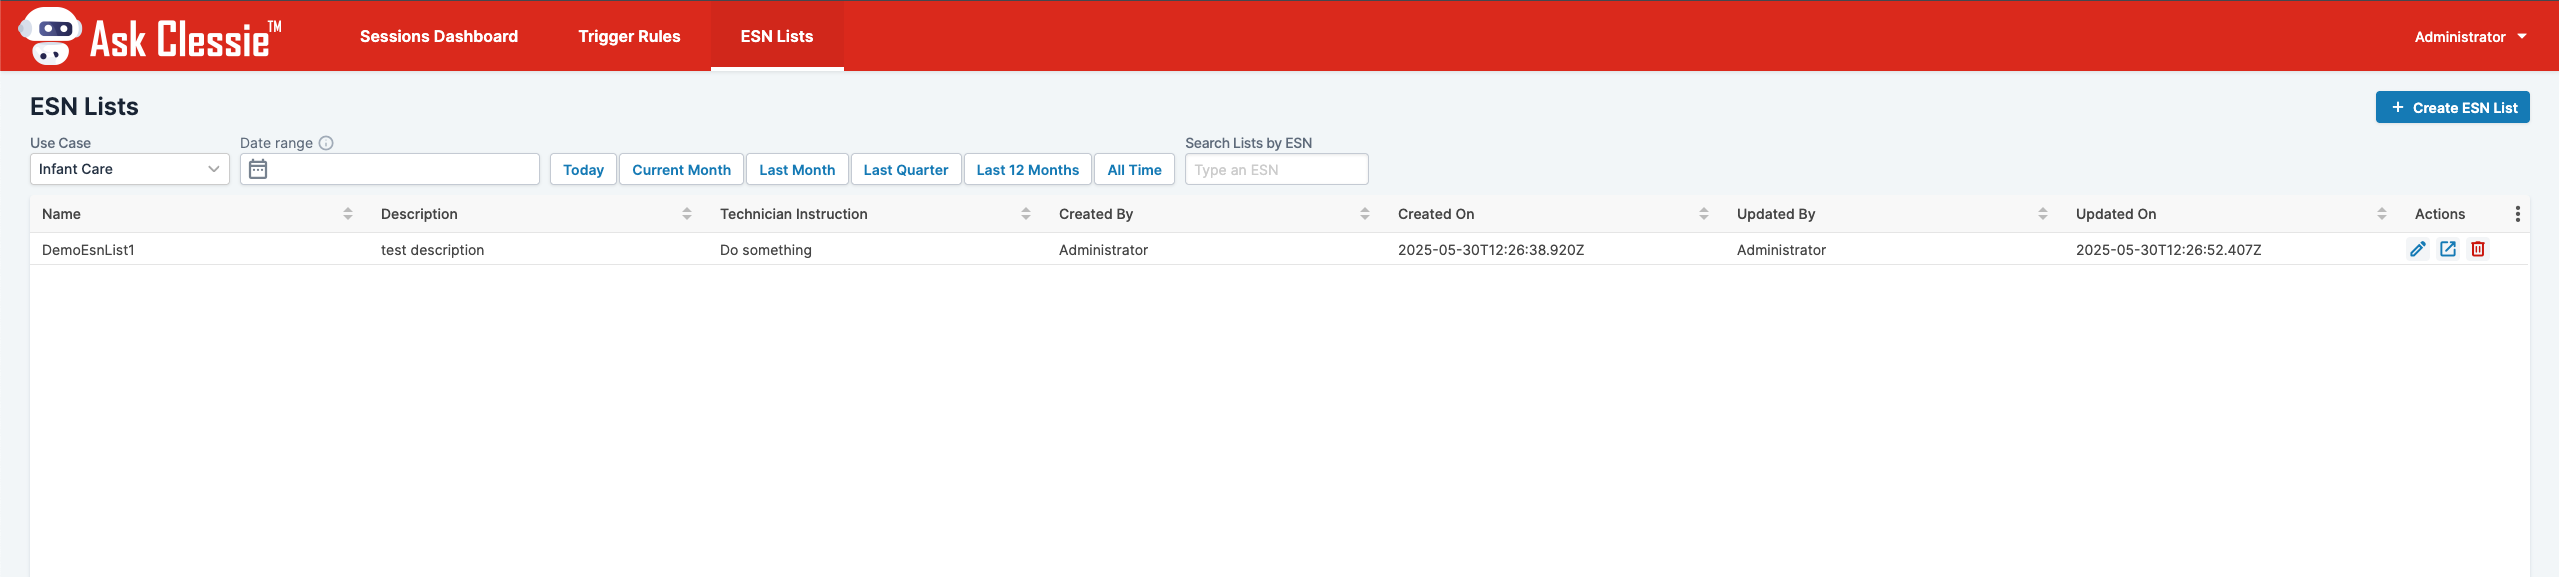
Actions on the main screen
On the main ESN screen, several actions are available for you to perform.
- Apply filter by use case
- Filter by date range or use predefined options (e.g., Today, Current Month, etc.)
These filters allow you to query ESN Lists based on the createdOn property—in other words, you can filter them by their creation date. - Locate the ESN List that contains a specific ESN.
Here, by entering an ESN known to be associated with an ESN List, the system will filter the results accordingly.
For example, using the ESN added earlier will allow you to narrow down the ESN Lists. - Similar to the functionality in the Trigger Rule, the ESN List screen allows you to edit, view, or delete a selected ESN List by using the corresponding action buttons.
ESN List in Trigger Rule context
ESN Lists are also available within the Trigger Rule context. When creating a new Trigger Rule, the user can select an ESN List from the drop-down menu.
The above trigger rule would fire whenever a work order in Guidanz is opened that has an ESN that also exists in the selected ESN List (in this case, ESNListNumberTwo)
This means we can create triggers using the ESN's.
Additionally, after creating the trigger, you can reference ESNListTechnicianInstruction within the intervention messages. This allows you to include the technician instruction from the ESN List that contains the ESN associated with the current work order.
Related Articles
Ask Clessie Management Interface - User Help Guide
Ask Clessie Management Interface Overview The Ask Clessie Management Interface is an application used to configure and manage Ask Clessie. It is primarily accessed by business stakeholders (Chatbot Managers) who are responsible for creating and ...Ask Clessie - Frequently Asked Questions
Ask Clessie Will we be compensated for my time for satisfying Ask Clessie interventions? SRT 00-139 is used to reimburse for capturing and sending ECM images, pictures, and videos as requested by Ask Clessie if a warrantable failure is identified. ...Trigger Playground
Trigger Playground Overview Ask Clessie Management Interface allows the Chatbot Managers to play with the triggers using the trigger playground. It allows the Chatbot Managers to review and check how a trigger and its associated interventions will ...Ask Clessie 2.0 - Phone A Friend
Ask Clessie 2.0 is an additional functionality on the top of Ask Clessie which enables the Managers/ Support agents to connect and chat directly with the technicians in near-real time while they are performing a repair. They would be able to guide ...Frequently Asked Questions - Service Providers
Access Request How do I request access for SPA application? If you belong to Distributor and you are Cummins internal employee, please follow below steps: - Login to WWIMS using the URL https://wwimsngn.cummins.com/identity/ Go to Access Request. 3. ...